

This page assumes you have already settled, or at least narrowed, the material family. If you have not, that is a different question and it has its own guide: wood versus composite over ten years compares the five families on upkeep, lifespan and what each one asks of the owner, and the materials hub holds a guide for every family we carry.
What follows is the next problem, and it is the one that produces surprises on quotes: a deck is not an order for boards. It is an order for boards, a second and third profile of the same board, a fastener system, tape, a guard, and a handful of things that can only be installed while the frame is still open. Get the sequence wrong and the cost of fixing it is measured in lifted boards.
What you are actually ordering
Nine line items, in roughly the order they get installed. The note on each is the thing that settles it — very few of these are free choices by the time you reach them.
Field boards
The surface, in one profile and one length pattern; every other line depends on it.
Settled byYour material family and collection
Border and stair boards
A square-edge profile from the same collection.
Settled byWhether you have a border or stairs
Fastener system
Hidden clips for grooved boards, colour-matched screws for square-edge, often a third for fascia. Sold by coverage.
Settled byThe board profile, and the joist spacing
Fascia and riser boards
Separate, usually wider profiles for the rim joist and each step face, usually face-screwed.
Settled byDeck height and the number of steps
Joist tape
A self-adhesive band over joists, rim and ledger; cheap, and it goes on before the boards.
Settled byNothing — decide it before the frame is closed
Frame and hardware
Treated joists, beams, blocking, hangers and structural screws.
Settled byThe drawing, plus the board's own spacing rule
Guard system
Posts, panels, top rail, gates and a separate stair guard.
Settled byGuard height rules and your post layout
Lighting and power
Fixtures, transformer, timer and the wire runs.
Settled byWhere you want light, decided early
Drainage and skirting
Drainage laid out inside the joist bays; skirting, lattice and vents close the perimeter after.
Settled byWhether the space below is used
Structural sizing — footings, beams, joist depth, the ledger connection — is not on that list on purpose. It comes from your approved drawing rather than from a catalogue, and our deck framing guide and Toronto deck permits page cover where those numbers actually come from.

The order the decisions come in
The list above is what you buy. This is the part that costs money if it happens in the wrong sequence, and it is worth stating plainly: three of the four decisions below are executed inside the frame, before a single board is screwed down.

All three manufacturers say it themselves, in the planning pages nobody reads before ordering.
Fiberon: posts before joists
Place rail posts before the joists are built — not just before the boards.
Manufacturer text“If railing will be installed, determine rail post placement prior to joist construction.”
Trex: posts before decking
Set post locations from the rail’s clear span before any decking goes down.
Manufacturer text“All 2026 Trex® railing products are made to be installed at 6' or 8' clear span between posts.” On stairs the horizontal span is shorter than the rail.
Fiberon: read both manuals
Read the decking and railing instructions together before starting either.
Manufacturer text“Failure to do so may result in more difficult installations and may void the warranty.”
The spacing under your deck belongs to your board. Trex publishes a separate Canadian table, and it is the clearest evidence that the two decisions are one decision: 24 mm × 140 mm Enhance decking is capped at 300 mm joist spacing, while the same-thickness Transcend and Signature boards are allowed 400 mm. That is a quarter more joists under the entry-tier board, and it is published only in the Canada section. TimberTech and Fiberon both hold 16 in. perpendicular and drop to 12 in. for angled layouts; Trex expresses the same thing as a deduction — 4 in. off the chart at 45°, half the distance at 30°.
One deck, more than one board
This is the single most common gap between what a homeowner imagines ordering and what an installer actually orders. A deck with a border and a set of stairs needs at least three profiles, and possibly four — from one collection, in one colour, at three different prices.

Two rules cover most of it, and both are published:
Grooved hidden, square-edge exposed
Use grooved boards for the field; square-edge, face-fastened boards for borders, perimeter runs and stair treads.
Manufacturer textFiberon: grooved boards are “not approved for use on stair treads” and “not intended to be used as perimeter boards”.
One collection
Take a contrasting border from the same collection, not a different line.
Manufacturer textTrex: “DO NOT combine Trex Select® decking with other Trex® decking products.” Select is .82 in. against .94 in.
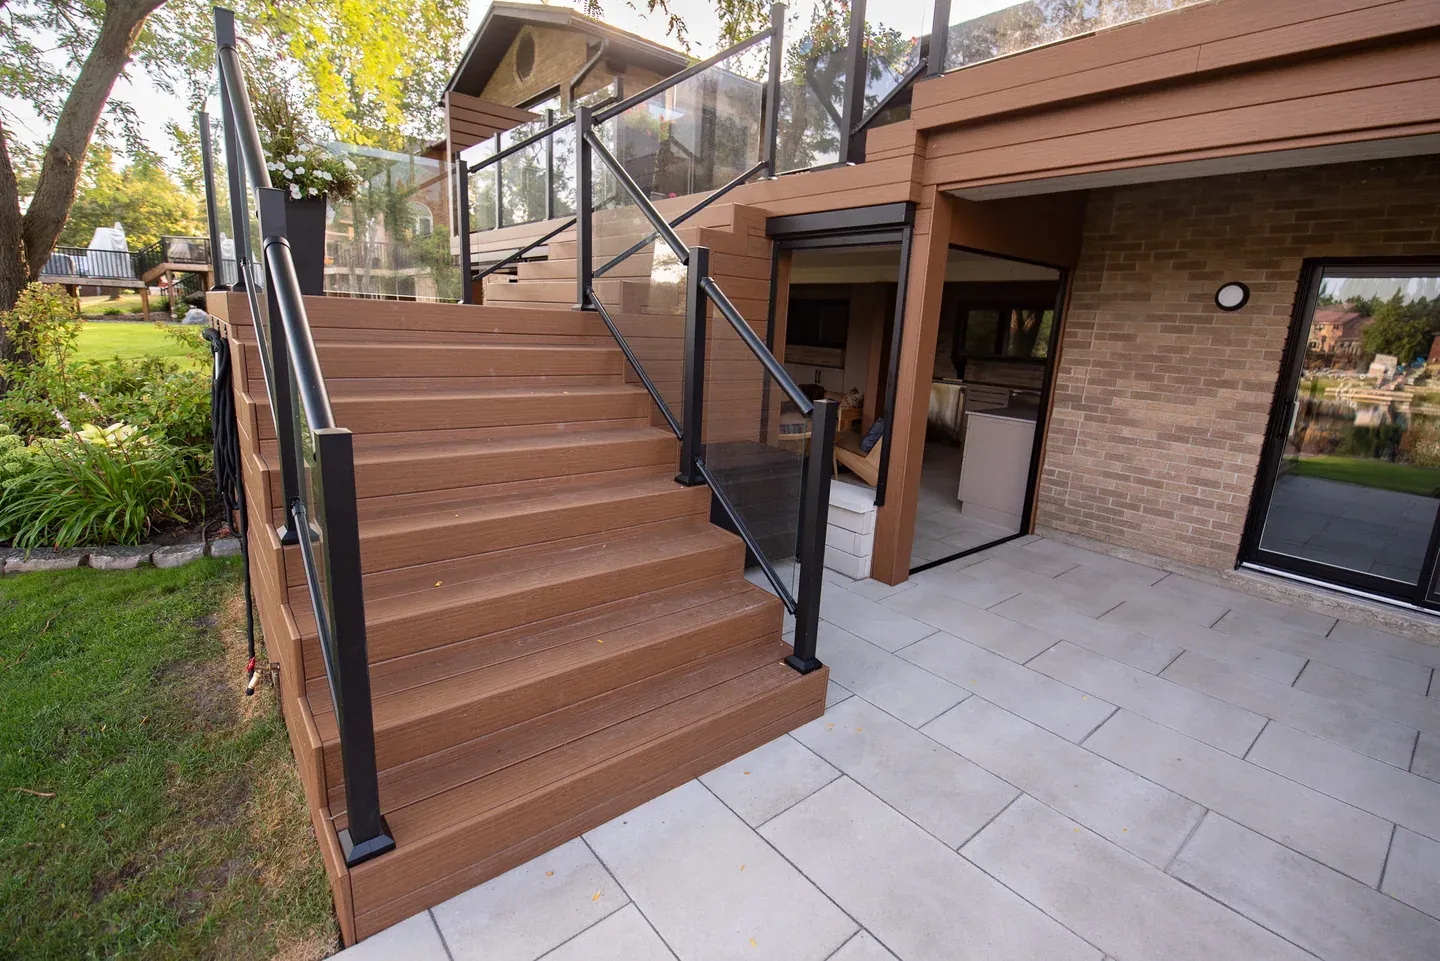
Fascia deserves its own sentence because it is the item most often left off a first quote. Trex's preferred method is “Install fascia UNDER decking edges/ends. This will optimize the aesthetics and performance of the installation”; its alternative, fascia beside the decking, needs “3/16" to 1/4" thick x minimum 1" wide exterior grade spacers… spaced 9" on center” behind the board. Either way it is a wider profile, a different screw, and a length of material equal to the perimeter of your deck.
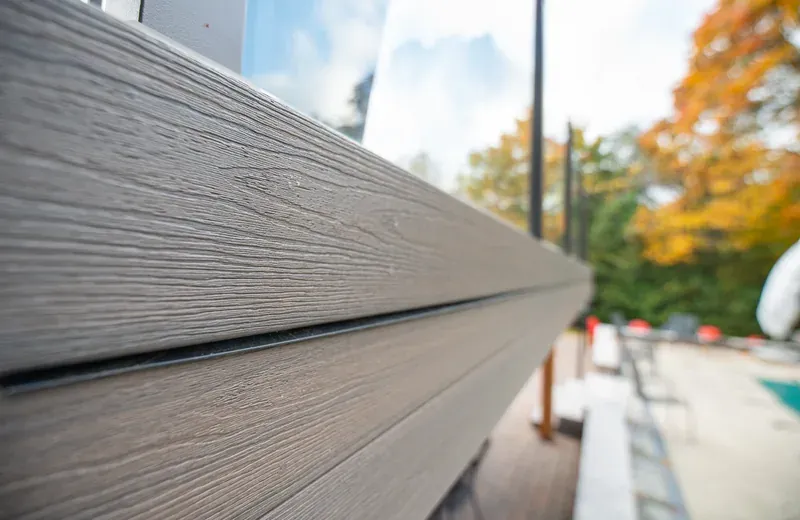
Gap figures are not transferable between brands. Trex requires a minimum “3/16" (5 mm)” side gap in all temperatures, and never more than 1/2 in.; TimberTech asks for “minimum 1/8" to maximum 3/16"” — a range whose minimum is narrower than Trex's minimum; Fiberon asks for a minimum 3/16 in. (4.8 mm) between board sides and 1/4 in. from a structure. End gaps then move with the temperature on the day. Work from the manual for the board you bought, not from the one you read first.
If the entry tier is what you are pricing, the compatibility list gets shorter still — scalloped-bottom boards rule out plug-based hidden fasteners and some accessories outright. Our budget composite guide covers those exclusions with the manufacturers' wording.
How much of it to buy
You can do this yourself, before anyone quotes you, because TimberTech publishes the whole method rather than just a rule of thumb. Two numbers come out of it: how many boards, and how many boxes of clips.

In TimberTech's own words: “Once you know the square footage number, divide it by 5.5 for 12' boards, 7.3 for 16' boards and 9.1 for 20' boards,” then “add roughly 10% to the total for a scrap factor.” Those divisors are simply the area one board covers with its gap, which is why they are close to the board's length in feet times its 5.5 in. width.
The two manufacturers who publish a waste figure do not agree. TimberTech's is the “roughly 10%” used above; Trex's is 5%, as “the general rule of thumb… to account for waste and mistakes”. Neither number covers a diagonal, a border or a curve, and no manufacturer publishes a figure that does. Our budget composite guide sets the two side by side. The step above uses the higher of them because it is attached to a full method rather than to a sentence.
Then check the lengths against your deck, because that is where the rest of the waste lives. Trex publishes its 1×6 boards as .94 in × 5.5 in × 12 ft / 16 ft / 20 ft — three lengths, in four-foot steps, and not every colour comes in all three. A deck that measures 14 ft across the board run means buying 16 ft boards and cutting two feet off every one of them, unless the layout plans a butt seam or a breaker board instead; Trex illustrates both breaker options, on a single joist and on a doubled one. Moving a deck dimension by a foot at the drawing stage is free, and the same guide works through what each length choice wastes.
Fasteners are sold the same way, by coverage rather than by count. Trex's Hideaway box holds 90 clips and, in its own words, they “cover 50 square feet of decking when deck boards are installed 16-inches on-center”. TimberTech's CONCEALoc comes as a “100-square-foot coverage box” and a “Bulk Bucket – 1,000-square-foot coverage”, and its FUSIONLoc is “packaged for 225-square-foot and 450-square-foot, at 16" O.C.”
Notice the condition attached to those figures: at 16 in. on centre. Frame at 12 in. on centre — because you chose a diagonal layout, or an entry-tier board that requires it — and the same deck area takes about a third more clips. The board decision reaches the fastener line on the invoice as well as the lumber line.
Fasteners, tape and the frame underneath
Four things here are worth insisting on, and none of them is expensive.
The approved fastener
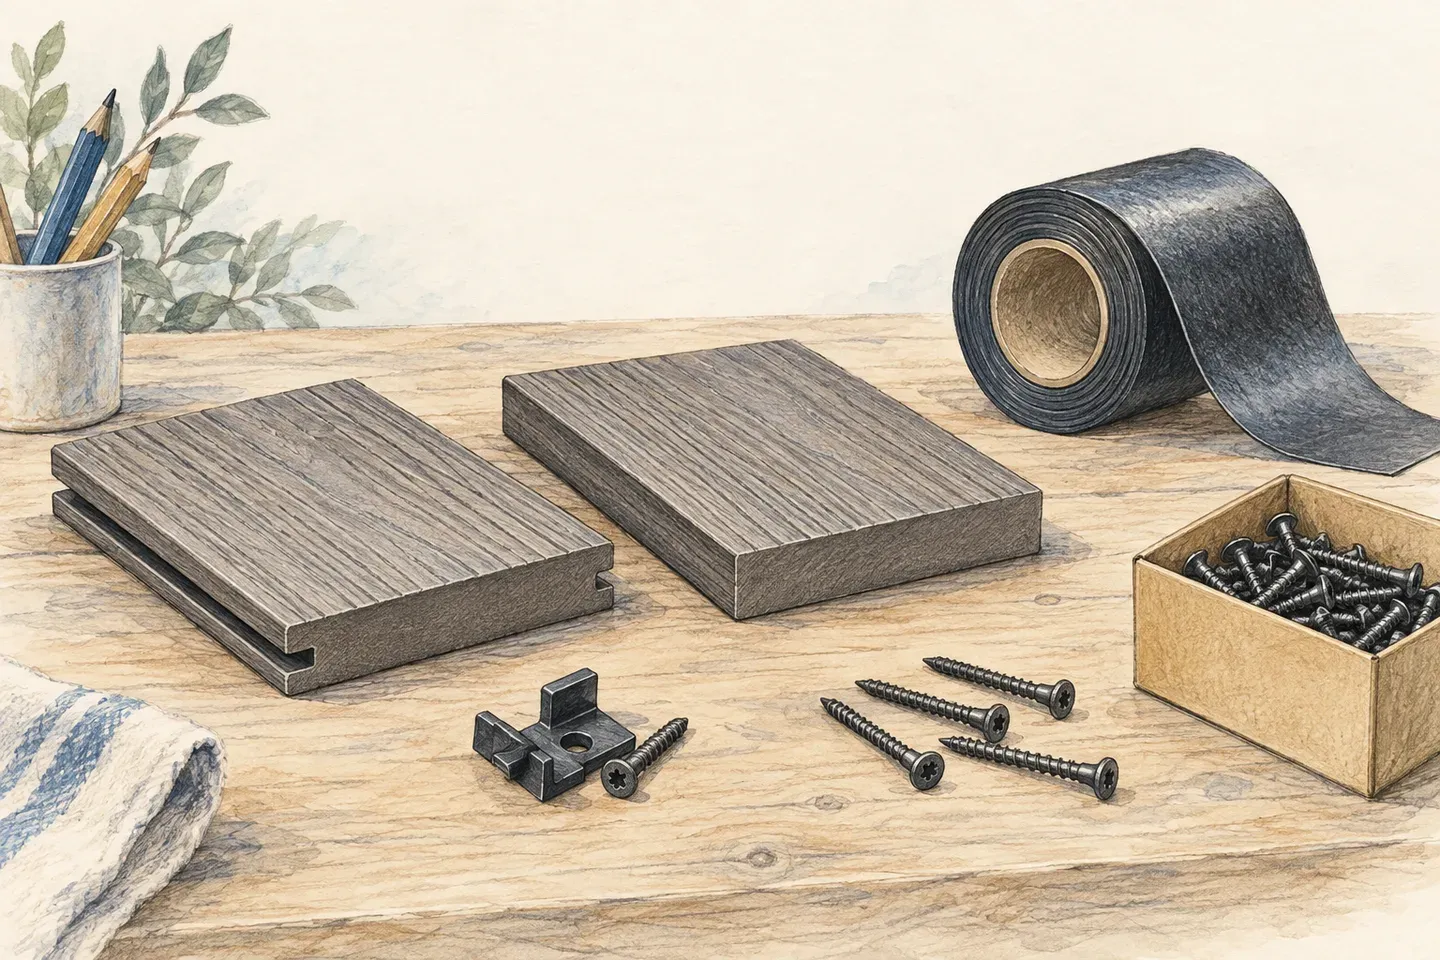
Order the fastener listed for your exact collection — “composite screws” is not specific enough.
SourceFiberon: no plain galvanized or bugle-head screws; two #8 × 2½ in. stainless or coated screws per joist. Trex excludes damage from non-approved fasteners from its warranty.
Cedar needs it too
Use corrosion-resistant fasteners on cedar to protect the board.
SourceWestern Red Cedar Lumber Association: cedar's natural preservatives leave a black stain around anything else.
Joist tape while it is open
Tape joist tops, rim joists and ledgers before the boards go down.
SourceRecommended by Trex and Fiberon; neither makes it a warranty condition.
Keep the frame dry
Detail for drainage — tape, draining gaps, a base that dries. See iron vs aluminum for the post connection.
SourceFPL-GTR-227: “When the wood is dry, embedded metals do not corrode.” Canadian framing is copper-treated (ACQ or copper azole).
What goes in before the boards
A short list, but the expensive one. Each of these is easy while the frame is open and awkward or impossible afterwards.
Guard posts and blocking
Set post positions from the guard system's clear span (see the order of decisions) and frame the blocking that carries them.
Lighting and transformer
Plan lights, power supply, timer and dimmer where they can be serviced; wire before decking and railing.
SourceTrex: “DO NOT run wires between joists and deck boards.”
Under-deck drainage
Plan the layout so the drainage system fits inside the joist bays, with straight, square joists.
SourceTrex RainEscape instructions.
Anything heavy
Plan joist spanning for hot tubs and planters with a local building engineer or inspector.
SourceA hot tub is a structural decision, not a furniture one.
Blocking generally
Add solid blocking between each joist every 4–6 ft to limit movement and keep the surface uniform.
SourceTimberTech
One more that is easy to check and hard to fix: if the deck sits below a wall of newer windows, low-emissivity glass can concentrate reflected sunlight onto the boards. Both Trex and TimberTech warn about it, and TimberTech's remedy is framing at 6–8 in. on centre in the affected area with top-down fasteners instead of clips. Our PVC versus composite guide carries that warning in full.
What to send with a quote request
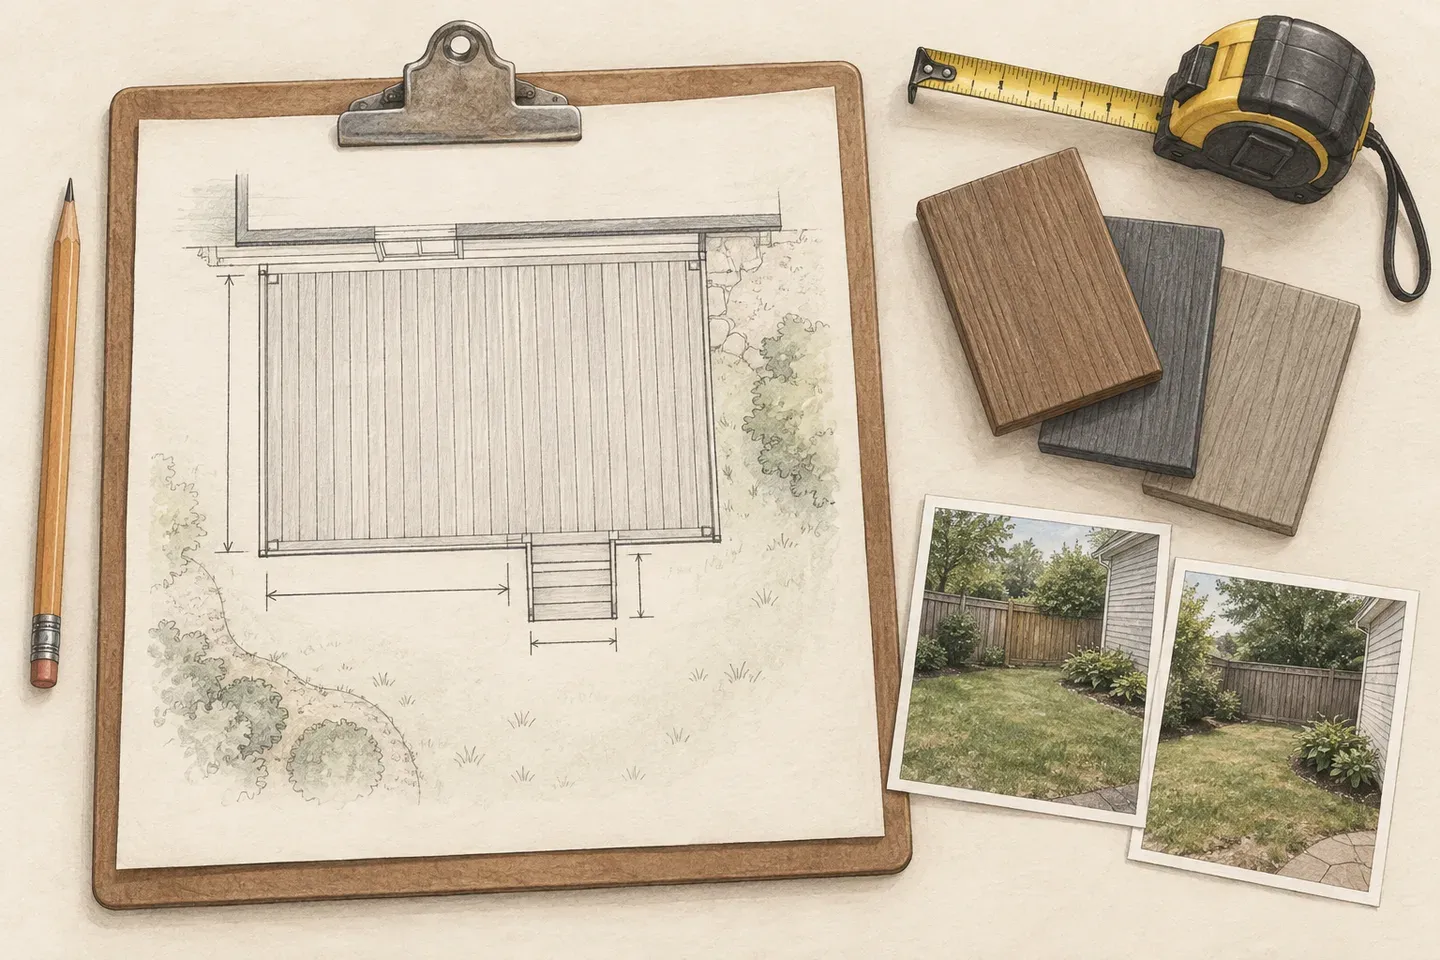
Everything above collapses into six answers. With them, a supplier can price a package; without them, you get a number for boards and a series of additions later.
Dimensions and board direction
Length × width, and which dimension the 12, 16 and 20 ft lengths have to cover.
Layout pattern
Straight, diagonal, picture-framed or herringbone — it sets joist spacing and the profile count.
Height and stair flights
Height drives fascia and skirting; each flight brings treads, risers, stringers and a guard.
Metres of guard and gates
Measured along the deck edge, including the stair runs.
Light, and where
Even a “maybe” — the wire has to be in before the boards.
What goes under the deck
Storage, a patio, or nothing: it decides drainage, skirting and vents.
For a rough budget before any of that is settled, the Ontario deck cost calculator models size, height, railing and finish options. The live Composite Deck Shop decking collection and its deck fasteners and railings categories carry the current range, stock and prices.
Useful sources
Installation instructions, spacing tables and approved-fastener lists are revised on each manufacturer's own schedule, and only the document in force for the exact product you buy governs your deck. Open these before ordering.
- Trex — 2026 Decking Installation Guide (PDF): the actual board dimensions and the 12, 16 and 20 ft lengths; the Canada-only joist and stair-stringer spacing table including Enhance at 300 mm; the Canada gapping table by installation temperature; the 60°, 45° and 30° angle deductions and the three-joist minimum; the 3/4 in. maximum overhang; the planning-ahead instructions for railing posts, lighting wiring, under-deck drainage and hot tubs; the two fascia methods and the 9 in. spacer rule; the approved-fastener matrix and the warranty condition attached to it; the instruction not to combine Select with other Trex lines; and the joist-tape recommendation.
- TimberTech — Composite Decking Installation Guide (PDF): the full material-estimating method with the 5.5, 7.3 and 9.1 divisors and the “roughly 10%” scrap factor; CONCEALoc and FUSIONLoc coverage per box, bucket and pail; joist spacing including the 12 in. rule for angled installations and the added support for a picture frame; solid blocking every 4–6 ft; and the side-to-side and butt-joint gapping tables.
- Fiberon — PE Decking and Fastener Instructions (PDF, via the installation instructions library): rail post placement determined prior to joist construction; grooved boards excluded from stair treads and from perimeter use; the per-collection joist, diagonal and stair spacing table; the face-fastening specification and the prohibition on plain galvanized and bugle-head screws; the joist-tape recommendation; and the instruction to read the decking and railing manuals together before starting either.
- Trex — Hideaway Universal Hidden Fasteners: 90 clips per box covering 50 square feet at 16 in. on centre, and 880 per bucket. The source of the coverage arithmetic in the third figure.
- USDA Forest Products Laboratory — FPL-GTR-227, Guide for Materials Selection and Design for Metals Used in Contact with Copper-Treated Wood (PDF): the moisture dependence of corrosion in treated wood, and the relative corrosivity of ACQ, CCA and micronized copper formulations.
- Western Red Cedar Lumber Association — Western Red Cedar Quick Facts (PDF): the requirement for corrosion-resistant fasteners, because the natural preservatives cause a black stain on the wood.
- Composite Deck Shop — decking, deck fasteners and railings and fences: the current Ontario range and accessory categories. The live collections are the authority on availability and price.
This guide is practical public information, not engineering advice or a substitute for approved drawings. Every spacing, gap and fastener figure on this page belongs to the named product that publishes it; your municipality, the Building Code edition in force, and the current installation instructions and warranty for the exact products you buy govern your deck. Structural sizing is covered on our framing guide, and permits on the Toronto deck permits page.