

Bottom line: do not treat framing as a universal recipe. The approved drawings, current municipal requirements, site conditions, accepted structural details and exact product instructions control. Your practical stop point is a visible, documented frame that has passed the required inspection before finish materials hide access.
This guide helps a homeowner ask the right questions and organize a frame review. It does not provide joist spans, footing dimensions, ledger fastener schedules or guard-post connections for a specific property. Start with the Toronto deck permit guide and the documents issued for your project.

The frame roadmap: four decisions before cutting
Many expensive framing corrections begin as finish decisions made too late. Lock the site, attachment, finish systems and inspection sequence before lumber is cut or holes are dug.

| Resolve | Record before framing | Why it changes the frame |
|---|---|---|
| Site and footings | Property constraints, utilities, grades, drainage, soil concerns and the approved footing layout. | Support positions and excavation affect the entire load path. |
| Building interface | An approved ledger and water-management detail, or a complete free-standing design. | The house connection is structural and must also keep water out. |
| Finished systems | Exact decking family, board direction, seams, borders, fascia, stairs and guard system. | Support spacing and blocking locations vary with the chosen systems. |
| Inspection sequence | Stages on the permit, booking responsibility, required rough-ins and documents kept on site. | Work must remain visible until the required stage passes. |
Follow the load path, not a parts list
A frame is a connected load path. Decking transfers use loads to joists; joists deliver them to approved supports; beams and ledgers distribute them; posts and footings carry them to suitable ground. Stairs, guards, roofs, hot tubs and concentrated features create additional paths that need to be designed, not added by appearance.

The Canadian Wood Council span guide can help explain joist, built-up beam and supporting-column relationships within its assumptions. Its own scope excludes footings, guards, attachment to the house and lateral bracing, so it cannot stand in for a complete design. Our free deck plans guide covers the Ontario fill-in plan packages that do carry footing, guard and stair content, and where each one stops.
Footings and posts: solve the site first
The City of Toronto asks deck drawings to show footing size, spacing, depth, height and frost protection, plus column sizes and locations. The approved foundation design must respond to the deck, soil, grade, drainage and frost exposure; a single depth rule cannot replace it.
Confirm the legal layout
Resolve property and zoning constraints before the structural layout is treated as final.
Request utility locates
Request at least five business days before digging, wait for every notified owner, and arrange private locates where needed.
SourceOntario One Call
Compare ground to drawings
Pause and ask the designer or municipality about unexpected fill, soft ground, water, slope, obstructions or changed grades.
Keep the work visible
Leave footings open for the inspection stage listed on your permit.
SourceToronto lists footing inspection after formwork and before concrete for small buildings.
No substitutes by appearance
Match posts, bases, connectors and corrosion protection to the approved detail and exposure.
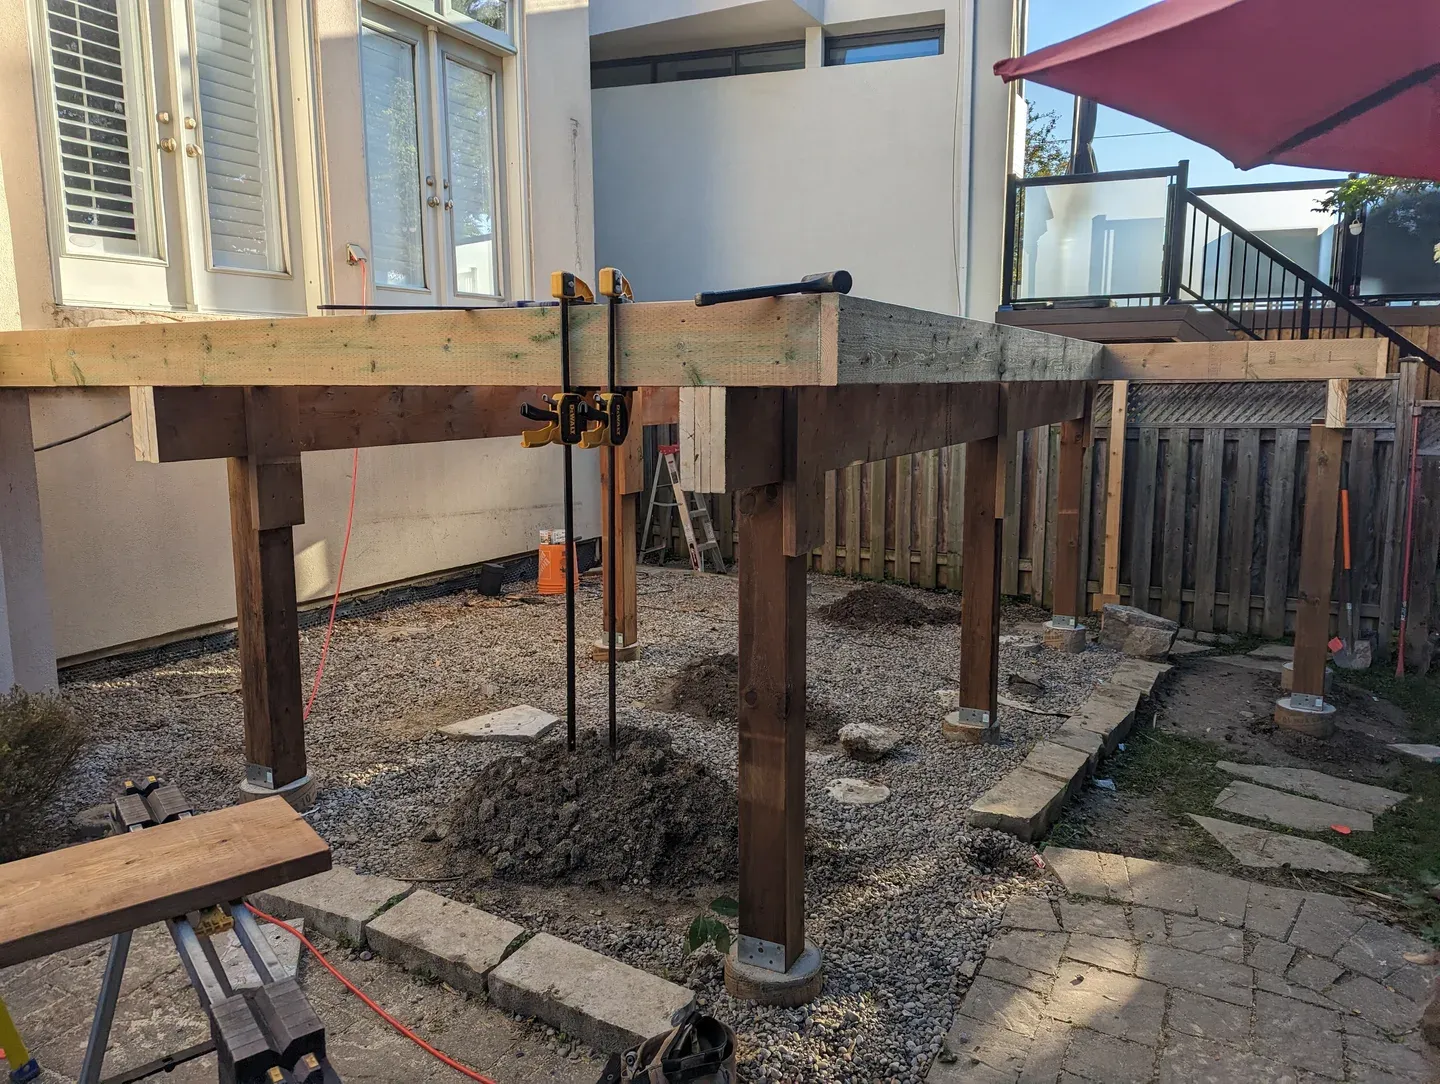
Ledger or free-standing: decide the building interface
Neither is automatically better. The exact detail depends on the building and the approved design.
Attached deck
Get an approved detail covering structure, the wall assembly, water management, hardware, edge clearances and any lateral-load strategy.
Free-standing deck
Name the complete footing, post, beam and bracing or stability strategy on the drawings, and allow for movement beside the building.
Note“Not attached” does not mean “not engineered.”
Pause if the wall differs
Document the condition and get a revised accepted detail rather than improvising.
NoteBrick veneer, cladding, waterproofing, thresholds, low clearances, an unknown rim or moisture damage.
Beams, joists and blocking: design for the finished systems
Joist and beam capacity is not determined by one number alone. Species, grade, treatment, incising, loads, span, support condition, spacing, cantilever and connection details all matter. Use the approved drawings and any referenced engineering, then check the current instructions for the exact decking and guard products.
Resolve these zones before the boards
Seams and borders
Plan dedicated support for picture frames and butt joints before framing, not after.
Stairs and landings
Plan openings, stringer supports, landings, handrails and guard transitions as one system.
Guard posts and gates
Frame the support shown by the accepted guard and structural details.
Fascia and drainage
Keep finish edges from trapping water or hiding a water-management problem.
Lighting and rough-ins
Run wiring and services before decking and railing go on; never drill structure casually. See deck lighting design.
SourceLighting manufacturers require the wiring in before the boards.
Compatible hardware
Use connectors and fasteners suited to the lumber treatment, exposure and the complete system.
Current Trex, TimberTech and Fiberon libraries publish product-specific instructions. Re-open the current guide for the exact family being purchased; do not assume a rule from another material, profile or product generation.
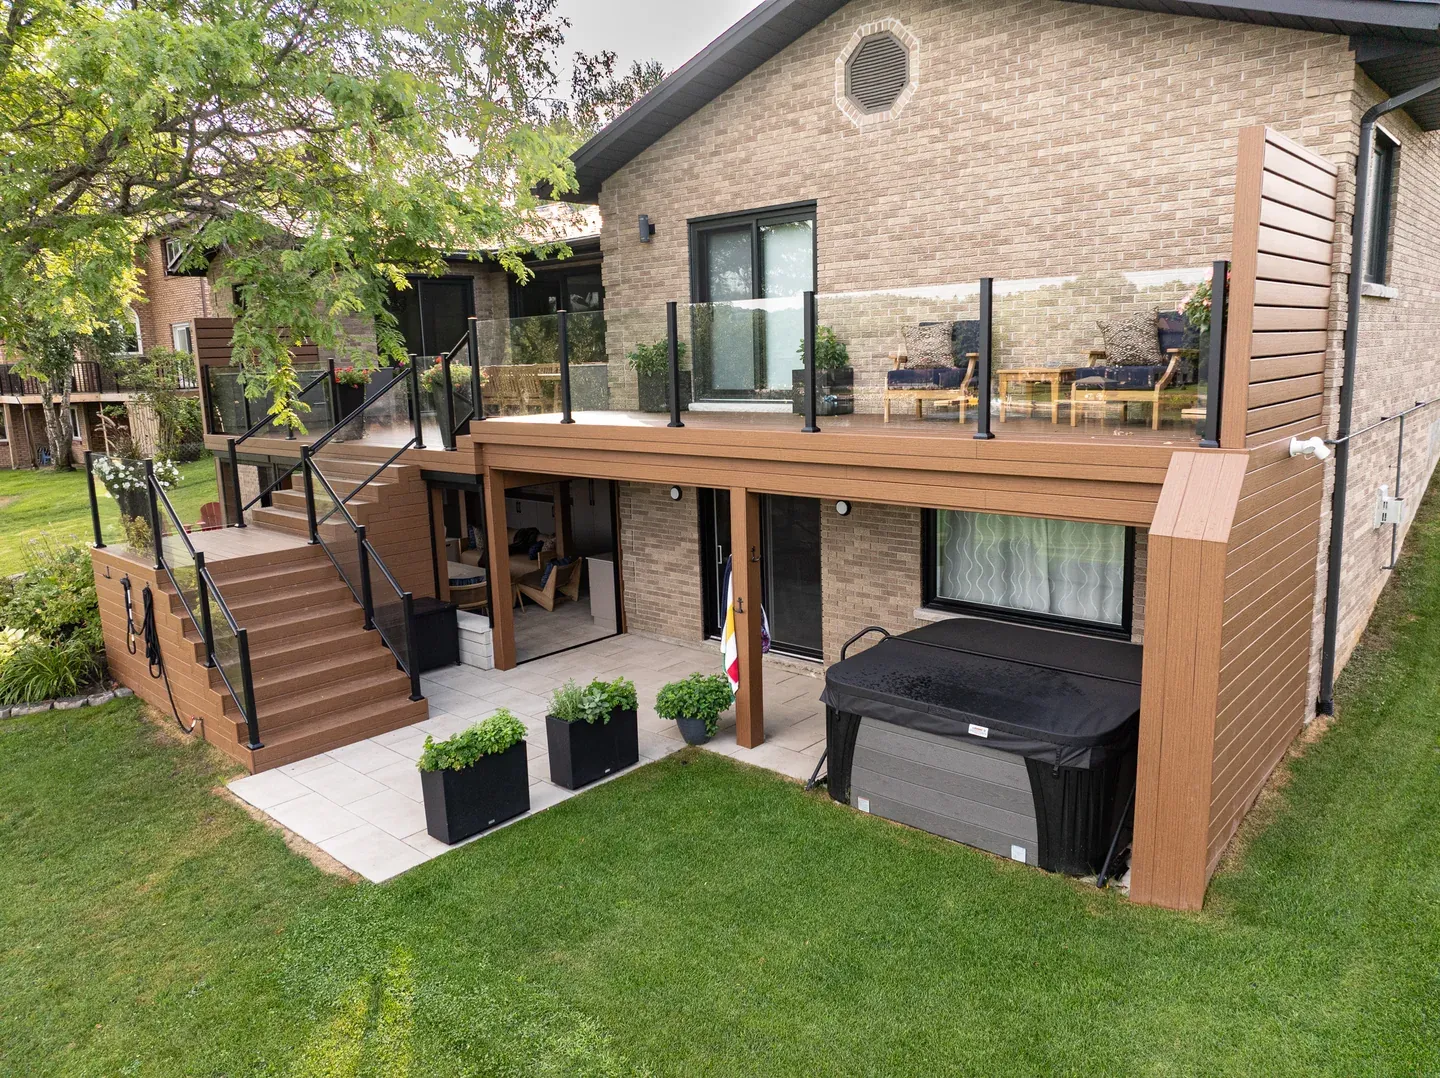
Inspection pause points: before decking hides access
Toronto says the permit holder must notify the City when work is ready, keep the stamped plans on site and make the work visible. Work covered before it passes may have to be uncovered. The stages below are a planning aid, not a promise that every project has the same sequence.

Pre-cover check for the homeowner record
- Stamped drawings and accepted revisions are on site.
- Footing, post, beam, joist and support layouts match the current drawings.
- Ledger/wall details or the free-standing support strategy are visible.
- Required connectors, fasteners, bearing and bracing can be inspected.
- Blocking for guards, stairs, seams, borders and finish edges is complete.
- Required rough-ins are coordinated and no structural member has been altered casually.
- Clear overview and close-up photos record the exposed work.
- The required inspection result is received before decking, fascia or soffit conceals access.
Can an existing frame be reused?
Removing old boards does not prove that the remaining structure is suitable for new composite, PVC or wood decking. An older frame may have hidden decay, movement, corrosion, insufficient blocking, an unresolved ledger or footing condition, or support spacing that conflicts with the current product instructions.
| Check | Useful evidence | Reason to pause |
|---|---|---|
| Wood condition | Accessible faces, probe findings, moisture or decay assessment by a qualified person. | Softness, splitting, crushing, persistent wetting or concealed areas that cannot be assessed. |
| Connections | Clear views of ledger, hangers, post bases, beam bearings, fasteners and corrosion condition. | Loose movement, staining, corrosion, unknown hardware or inaccessible attachment. |
| Layout compatibility | Measured joist/support layout compared with the exact current decking and guard instructions. | Unsupported seams, borders, stairs, guard posts or an incompatible support layout. |
| Permit history | Approved drawings, inspection records and any accepted repair or alteration. | Unknown history, unapproved changes or a new scope that requires municipal review. |
Where the condition or capacity is uncertain, obtain a project-specific assessment before ordering finish materials. A resurface quote should identify what was inspected, what remains concealed, what repairs are included, and what assumptions are excluded.
Build a homeowner record pack
A good record makes inspection, change management, future repairs and eventual resale questions easier. Keep one folder with:
Permit set
Stamped drawings, specifications and the issued permit.
Changes
Accepted revisions and written site decisions.
Inspections
Booked stages, outcomes and the closeout record.
Photos
Wide views and labelled close-ups before concrete and before decking.
Materials
Lumber and connector identification, invoices and delivery records.
Systems
The exact decking, railing, fastener and accessory installation manuals.
Useful sources
Code documents, municipal interpretation, inspection stages and product instructions can change. Re-open the current project documents and linked sources when planning the work.
- City of Toronto — Documentation index: deck drawing content, footing, column, beam, stair and guard information.
- City of Toronto — When to call for inspection of small buildings: stamped plans, visible work, footing, structural-framing and final stages.
- Ontario — Citizen's guide to building permits: municipal inspection against the code, permit and approved plans.
- Ontario's Building Code and Ontario Regulation 163/24: current provincial code framework.
- Canadian Wood Council — Residential exterior deck span guide: limited span-guide scope and exclusions.
- Ontario One Call — Homeowners: locate timing, infrastructure-owner responses and private-locate boundary.
- Trex, TimberTech and Fiberon: current product-specific installation libraries.